Effective Methods to Ensure Long-Lasting Walls
Installing drywall properly is crucial for creating a durable and smooth wall surface. This process involves more than just hanging sheets; it requires precision, appropriate materials, and techniques that ensure your walls not only look great but also stand the test of time. By mastering these methods, you can prevent common issues like cracking or sagging, ultimately saving time and money on future repairs.
The Importance of Proper Wall Preparation
A successful drywall project starts with thorough preparation. Before installation begins, make sure that the framing is level and secure. Check for any uneven surfaces or protruding nails which could affect the final outcome. Proper preparation minimizes complications during drywall installation and contributes significantly to the project’s longevity.
Choosing the Right Materials for Your Project
Selecting the correct type of drywall is essential for achieving lasting results. There are several options available, such as standard gypsum board, moisture-resistant panels, and fire-rated varieties. Consider your specific needs, such as humidity levels or fire safety requirements, when choosing materials. Using quality materials is a key component in effective drywall installation.
The Role of Accurate Measurements
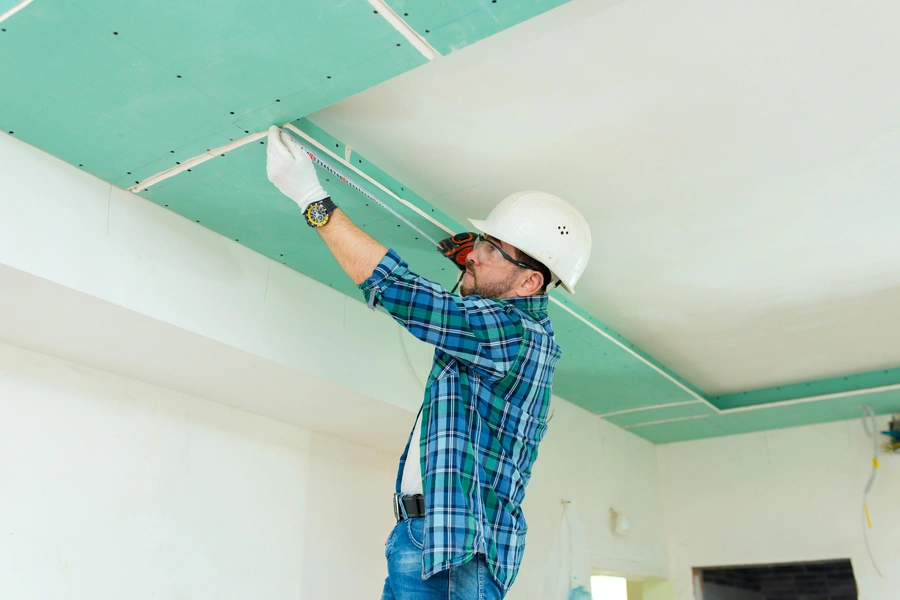
Ensuring precise measurements is vital in every step of the drywall installation process. Measure walls accurately before cutting the panels to fit seamlessly into spaces. Inaccurate measurements lead to gaps and excessive waste, affecting both aesthetics and structural integrity. Taking time to measure correctly helps achieve a professional-looking finish.
Mastering the Hanging Technique
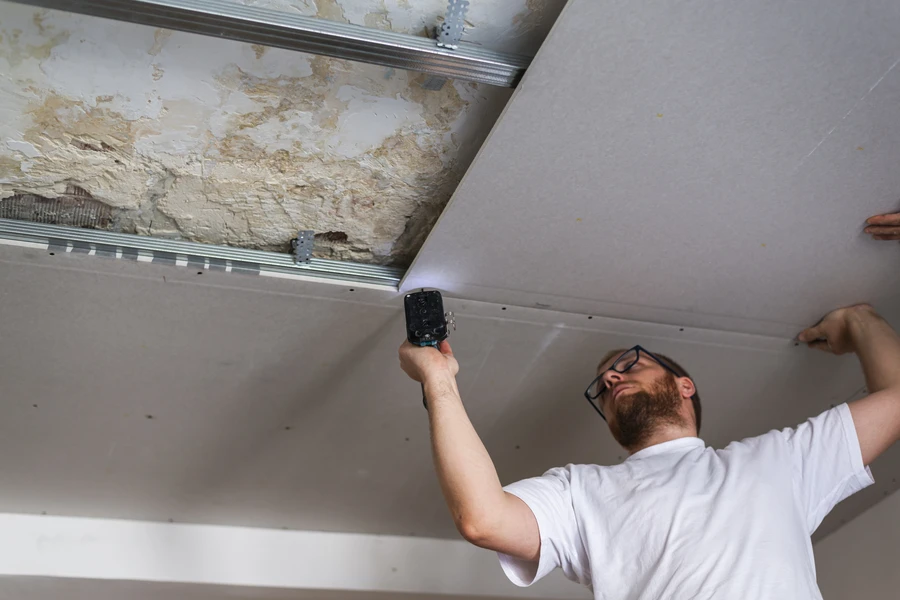
When it’s time to hang drywall, begin from the ceiling before moving down to walls. Secure each sheet tightly against the frame using screws rather than nails to avoid future shifting. Align edges carefully to ensure even seams which are easier to cover later. This approach not only ensures stability but also simplifies the taping process.
Perfecting Taping and Finishing Skills
Taping is an art that prevents cracks and enhances durability. Apply joint tape over seams after installing all sheets, then cover with a thin layer of joint compound. Allow it to dry completely before sanding down rough areas for a smooth surface. Reapply additional coats as needed until achieving a flawless finish.
- Use fiberglass mesh tape for extra strength
- Apply multiple thin layers of compound rather than one thick coat
- Smooth out imperfections between coats with sandpaper
Avoiding Common Pitfalls in Drywall Projects
One frequent mistake is rushing through the sanding phase, leading to visible lines under paint or wallpaper. Another issue is neglecting corner beads, which provide clean edges at corners and help protect them from damage. Taking care in these areas pays off by enhancing both appearance and resilience.
Professional Tips for Successful Installations
Experts recommend maintaining consistent temperature and humidity levels while working to prevent material expansion or contraction. Additionally, using primer on finished surfaces before painting helps seal joints and ensures uniform color application. These practices contribute greatly towards achieving excellent results.
- Maintain workspace conditions consistently
- Prime walls thoroughly post-installation
- Inspect completed work for any flaws needing touch-ups
Investing in Quality Tools and Equipment
Using high-quality tools can significantly impact your project’s success. Invest in reliable drills, screw guns, and sanders designed specifically for drywall work. Having proper equipment not only improves efficiency but also enhances accuracy during installation tasks.
Your Partner for Exceptional Results
If you’re looking for expert assistance with your next project, reach out today at (825) 903-9794. Based in Medicine Hat, AB, I offer top-tier service tailored to meet your unique needs. At Ken's Drywall, I’m committed to delivering outstanding craftsmanship that exceeds expectations.


